After a facial or aesthetic procedure you may notice breakouts, redness, or swelling. Are these skin purging or an adverse reaction? This article explains the biological mechanisms behind purging versus inflammatory or allergic responses, how to tell them apart, and evidence-based aftercare and recovery timelines for Botox, fillers, laser facials, chemical peels, and non-surgical body sculpting to minimize risks and maximize results.
What skin purging is and why it happens
You book a facial or a chemical peel expecting to walk out with that “glass skin” glow everyone talks about. Instead, three days later, you wake up to a cluster of new whiteheads. It feels like a betrayal. You spent money to clear your skin, and now it looks worse. Before you panic and blame the aesthetician or throw out your new products, you need to understand the biology of what is happening. This is likely skin purging, and as frustrating as it is, it is often a sign that the treatment is actually working.
The Biology Behind the Breakout
To understand purging, we have to look at how your skin regenerates. Under normal circumstances, your skin sheds dead cells and replaces them with new ones about every 28 days. This cycle slows down as we age. When you undergo treatments like chemical peels, laser resurfacing, or start a heavy retinoid protocol, you are hitting the fast-forward button on this cycle.
Purging is essentially an accelerated rate of exfoliation. The clinical term often used is “acneiform flaring.” Here is the mechanism: deep inside your pores, there are often microcomedones. These are microscopic clogs of oil and dead skin that haven’t turned into visible pimples yet. They are sitting there, waiting for their turn to surface. Without treatment, they might have surfaced weeks or months from now, or maybe stayed dormant.
When we apply an active ingredient or perform a procedure that speeds up epidermal turnover, the skin sheds its top layers rapidly. This pushes everything from the bottom to the top at high speed. The microcomedones turn into visible whiteheads or blackheads all at once. It is a physiological “cleaning house.” The congestion was already there; the treatment just evicted it sooner than expected.
Triggers and Treatments That Cause Purging
Not every procedure causes this. Purging only happens with treatments that impact the cell cycle or exfoliate the skin. If a treatment does not increase cell turnover, it generally should not cause purging.
You can expect this reaction from:
- Chemical Peels: Especially those containing salicylic acid, glycolic acid, or TCA. These penetrate the pore lining and force debris to the surface.
- Retinoids and Vitamin A: Whether it is a prescription cream or a high-strength retinol facial, these are the most common culprits because they regulate cell turnover aggressively.
- Laser Resurfacing: Ablative and some non-ablative lasers that trigger skin renewal can bring underlying congestion to the surface.
- Deep Pore Cleansing: Physical extraction facials can sometimes trigger inflammation in surrounding pores, leading to a purge-like response.
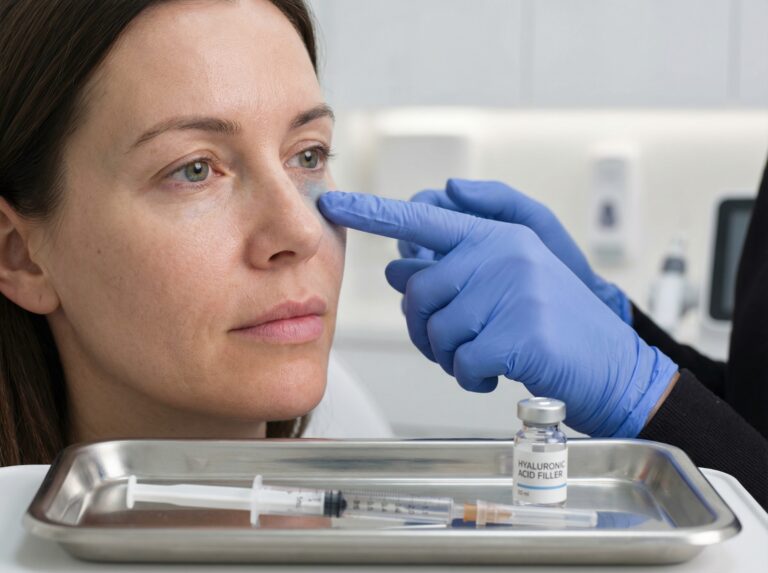
It is important to note that treatments like Botox or hyaluronic acid fillers do not accelerate cell turnover. If you break out after injections, the mechanism is different, which we will cover when we discuss adverse reactions.
What Purging Actually Looks Like
Identifying a purge requires looking at the location and the type of blemish. Purging has a very specific visual signature. It typically presents as small, red bumps or whiteheads. They often appear in clusters. You might also see an increase in blackheads, which are just open comedones being pushed out.
The most critical clue is the location. Skin purging almost always happens in areas where you are already prone to breakouts. If you usually get congestion on your chin and nose, a purge will likely manifest there. The treatment is churning up the debris that exists in your problem zones.
If you suddenly develop deep, painful cysts on your cheeks, but you have never had acne on your cheeks before, that is rarely a purge. That is likely a reaction to a product or bacteria.
The Timeline: How Long Does It Last?
Patience is difficult when your face is acting up, but the timeline is predictable. Since purging is tied to the skin cycle, it has a distinct beginning and end.
- Onset: You will usually see the breakout start within a few days (typically 3 to 4) of the treatment or starting a new active product.
- Peak: The intensity often peaks around the two-week mark.
- Resolution: A true purge should clear up within 4 to 6 weeks. This corresponds to one full skin cycle.
If the breakouts persist beyond six weeks, or if they continue to get worse without any sign of improvement, you are likely dealing with a different issue. The key characteristic of purging is that the blemishes heal faster than a standard pimple. Because they are superficial and the skin is in high-turnover mode, they tend to appear, ripen, and resolve quickly.
Risk Factors: Who Is Most Likely to Purge?
Your skin type plays a massive role here. Those with oily or combination skin are more susceptible simply because they have more subsurface congestion (microcomedones) to begin with. If you have a history of acne, even mild cases, you should anticipate some level of purging with resurfacing treatments.
Another risk factor is your post-procedure skincare. Using heavy, occlusive balms (like thick petrolatum-based products) on skin that is trying to expel debris can trap that debris, intensifying the breakout. This is why following the specific aftercare for your skin type is non-negotiable.
Managing the Purge: Do’s and Don’ts
The instinct is to attack the breakout. You might want to scrub it away or use harsh spot treatments. Do not do this. Your skin barrier is already compromised and working hard to renew itself. Aggression will only lead to scarring or post-inflammatory hyperpigmentation.
Do:
- Keep the skin clean with a gentle, non-foaming cleanser.
- Hydrate with lightweight, non-comedogenic moisturizers.
- Protect the new skin with SPF, as fresh cells are highly sensitive to UV damage.
Don’t:
- Do not pick. I cannot stress this enough. Picking at a purge spreads bacteria and damages the delicate new tissue forming underneath.
- Do not add more actives. If you are purging from a retinol peel, do not add a salicylic acid toner on top to “fix” it. You will burn your skin.
- Do not stop the treatment (usually). If you are on a prescribed retinoid or a series of peels, stopping in the middle of a purge often means you just restart the process later. You have to push through the “ugly” phase to get to the clear skin on the other side.
A Note on Injectables and Body Sculpting
As we move into the next section, keep in mind that the logic of “it gets worse before it gets better” applies strictly to treatments that speed up cell turnover. Injectables like Botox and fillers, or body sculpting devices like CoolSculpting, do not exfoliate. Therefore, they do not cause purging.
If you see red bumps, pustules, or inflammation after a needle-based procedure, you cannot write it off as “just purging.” It requires a different diagnostic approach. We need to distinguish between a healthy biological cleanup and a sign that your skin is fighting back against an allergen, an irritant, or an infection.
When a skin issue is a reaction not purging
You might expect a few pimples after a facial. That is standard purging. But intense itching, heat, or swelling is different. That is a reaction. Knowing the difference saves your skin from permanent damage. Purging involves accelerated turnover of existing congestion. A reaction is your skin rejecting a substance or suffering trauma.
Allergic Contact Dermatitis
This occurs when your immune system identifies an ingredient as a threat. It is common with fragrances, preservatives, or botanical extracts used in spa products.
Timing: Symptoms usually start within minutes to hours after application. Sometimes it takes a day or two if you have been sensitized previously.
Clinical Signs: The hallmark sign is itching. Purging rarely itches. You will see redness, swelling, and tiny blisters that might weep fluid. The skin feels hot and uncomfortable.
Distribution: The rash appears exactly where the product touched your skin. It can sometimes spread slightly beyond that area if the allergen is potent.
Severity: It ranges from mild annoyance to severe swelling that closes the eyes. Hydrocortisone won’t treat a whitehead, salicylic acid won’t improve an allergic reaction, so getting the diagnosis right is critical.
Irritant Dermatitis
This is not an allergy. It happens when a substance damages the skin barrier directly. Overusing acids or retinoids is a common cause.
Timing: It can happen immediately upon application or develop slowly over days of overuse.
Clinical Signs: You will feel burning or stinging rather than itching. The skin looks red, dry, and scaly. It might feel tight or like sandpaper.
Distribution: It stays strictly in the areas where the harsh product was applied.
Infection (Bacterial, Viral, Fungal)
Procedures that break the skin barrier can introduce pathogens. This includes microneedling, extractions, or injections.
Timing: Infections typically appear 24 to 72 hours after the treatment. Fungal infections might take longer to become obvious.
Clinical Signs: Look for pus that is yellow or green. Clear fluid is usually normal lymph, but colored discharge is a warning. You might feel throbbing pain, heat radiating from the area, or develop a fever. Viral infections like herpes simplex (cold sores) present as a cluster of painful, fluid-filled blisters.
Distribution: Bacterial infections are often localized to the extraction or injection site. Viral outbreaks usually happen around the mouth or treated area.
Inflammatory Acneiform Eruptions
This looks like acne but behaves differently. It is often caused by heavy oils or occlusive balms used during or after a massage.
Timing: These bumps appear within a few days of the facial.
Clinical Signs: You will see uniform red bumps. They all look the same. True acne usually has lesions in different stages. These eruptions lack the deep comedones (blackheads) seen in purging.
Distribution: They appear in areas where the product was applied heavily. This includes the neck or chest if those areas were massaged.
Delayed Hypersensitivity to Fillers
Your immune system can react to a filler months after it was placed. This is often triggered by a flu or another illness.
Timing: It happens weeks, months, or even years after the injection.
Clinical Signs: The injected area becomes firm, red, and swollen. It might feel tender to the touch.
Severity: It can be alarming but is usually manageable with medical treatment.
Granulomas
A granuloma is a hard lump. It forms when the body tries to wall off a foreign substance like filler.
Timing: These develop slowly over months or years.
Clinical Signs: You will feel a distinct, firm nodule under the skin. It is usually not painful unless it presses on a nerve. It does not look like a pimple.
Vascular Occlusion
This is a medical emergency. It happens when filler accidentally enters or compresses a blood vessel. It cuts off oxygen to the tissue.
Timing: It is usually immediate. It happens while you are in the chair or within hours of leaving.
Clinical Signs: The most common sign is severe pain. It hurts more than a normal injection. The skin turns white or gray (blanching). Later, you might see a mottled, net-like pattern of red and blue (livedo reticularis). Small pustules can form quickly as the tissue dies.
Distribution: It follows the path of the blood vessel. This might be far from the injection point. For example, an injection in the nose can affect the forehead.
Diagnostic Steps
Your clinician needs specific information to help you. They will start with a history of what products you used and when symptoms started.
- Physical Exam: They look at the pattern. Is it widespread or localized? Is there pus?
- Swab or Culture: If there is drainage, they test it to see if it is bacteria, fungus, or a virus.
- Ultrasound: This is the gold standard for filler complications in 2025. It lets the doctor see where the filler is and if a vessel is blocked.
- Patch Testing: If contact dermatitis is suspected, they might test your skin against common allergens later.
Immediate First Aid
If you suspect a reaction, stop all active skincare immediately. Do not try to “push through” with more exfoliation.
- Cool Compress: Apply a clean, cool cloth to reduce heat and swelling. Do not use ice directly on the skin.
- Simplify Routine: Use only a gentle, fragrance-free cleanser and a basic moisturizer.
- Antihistamines: An over-the-counter oral antihistamine (like diphenhydramine or cetirizine) can help reduce itching and swelling for allergic reactions.
Red Flags: When to Call the Doctor
Some symptoms require urgent professional attention. Do not wait if you see these signs.
- Signs of Vascular Occlusion: intense pain, skin turning white or dusky gray, or vision changes. This requires immediate hyaluronidase to dissolve the filler.
- Spreading Redness: If redness expands rapidly or streaks away from the site, it could be cellulitis.
- Fever: A temperature over 100.4°F (38°C) indicates a systemic infection.
- Intense Pain: Discomfort that keeps you awake or does not respond to Tylenol is not normal.
- Anaphylaxis: Swelling of the tongue, throat tightness, or difficulty breathing requires emergency room care immediately.
Quick Reference: Purging vs. Reaction
Use this comparison to evaluate your current skin state.
| Feature | Skin Purging | Adverse Reaction |
| Location | Occurs in areas where you normally break out. | Appears in new areas or covers the entire treated zone. |
| Timing | Starts within days of treatment. Cycles quickly. | Can be immediate or delayed. Lesions linger without healing. |
| Sensation | Usually painless or mild tenderness like a standard pimple. | Itching, burning, intense heat, or throbbing pain. |
| Appearance | Small whiteheads, blackheads, or tiny bumps. | Hives, welts, blisters, diffuse redness, or purple discoloration. |
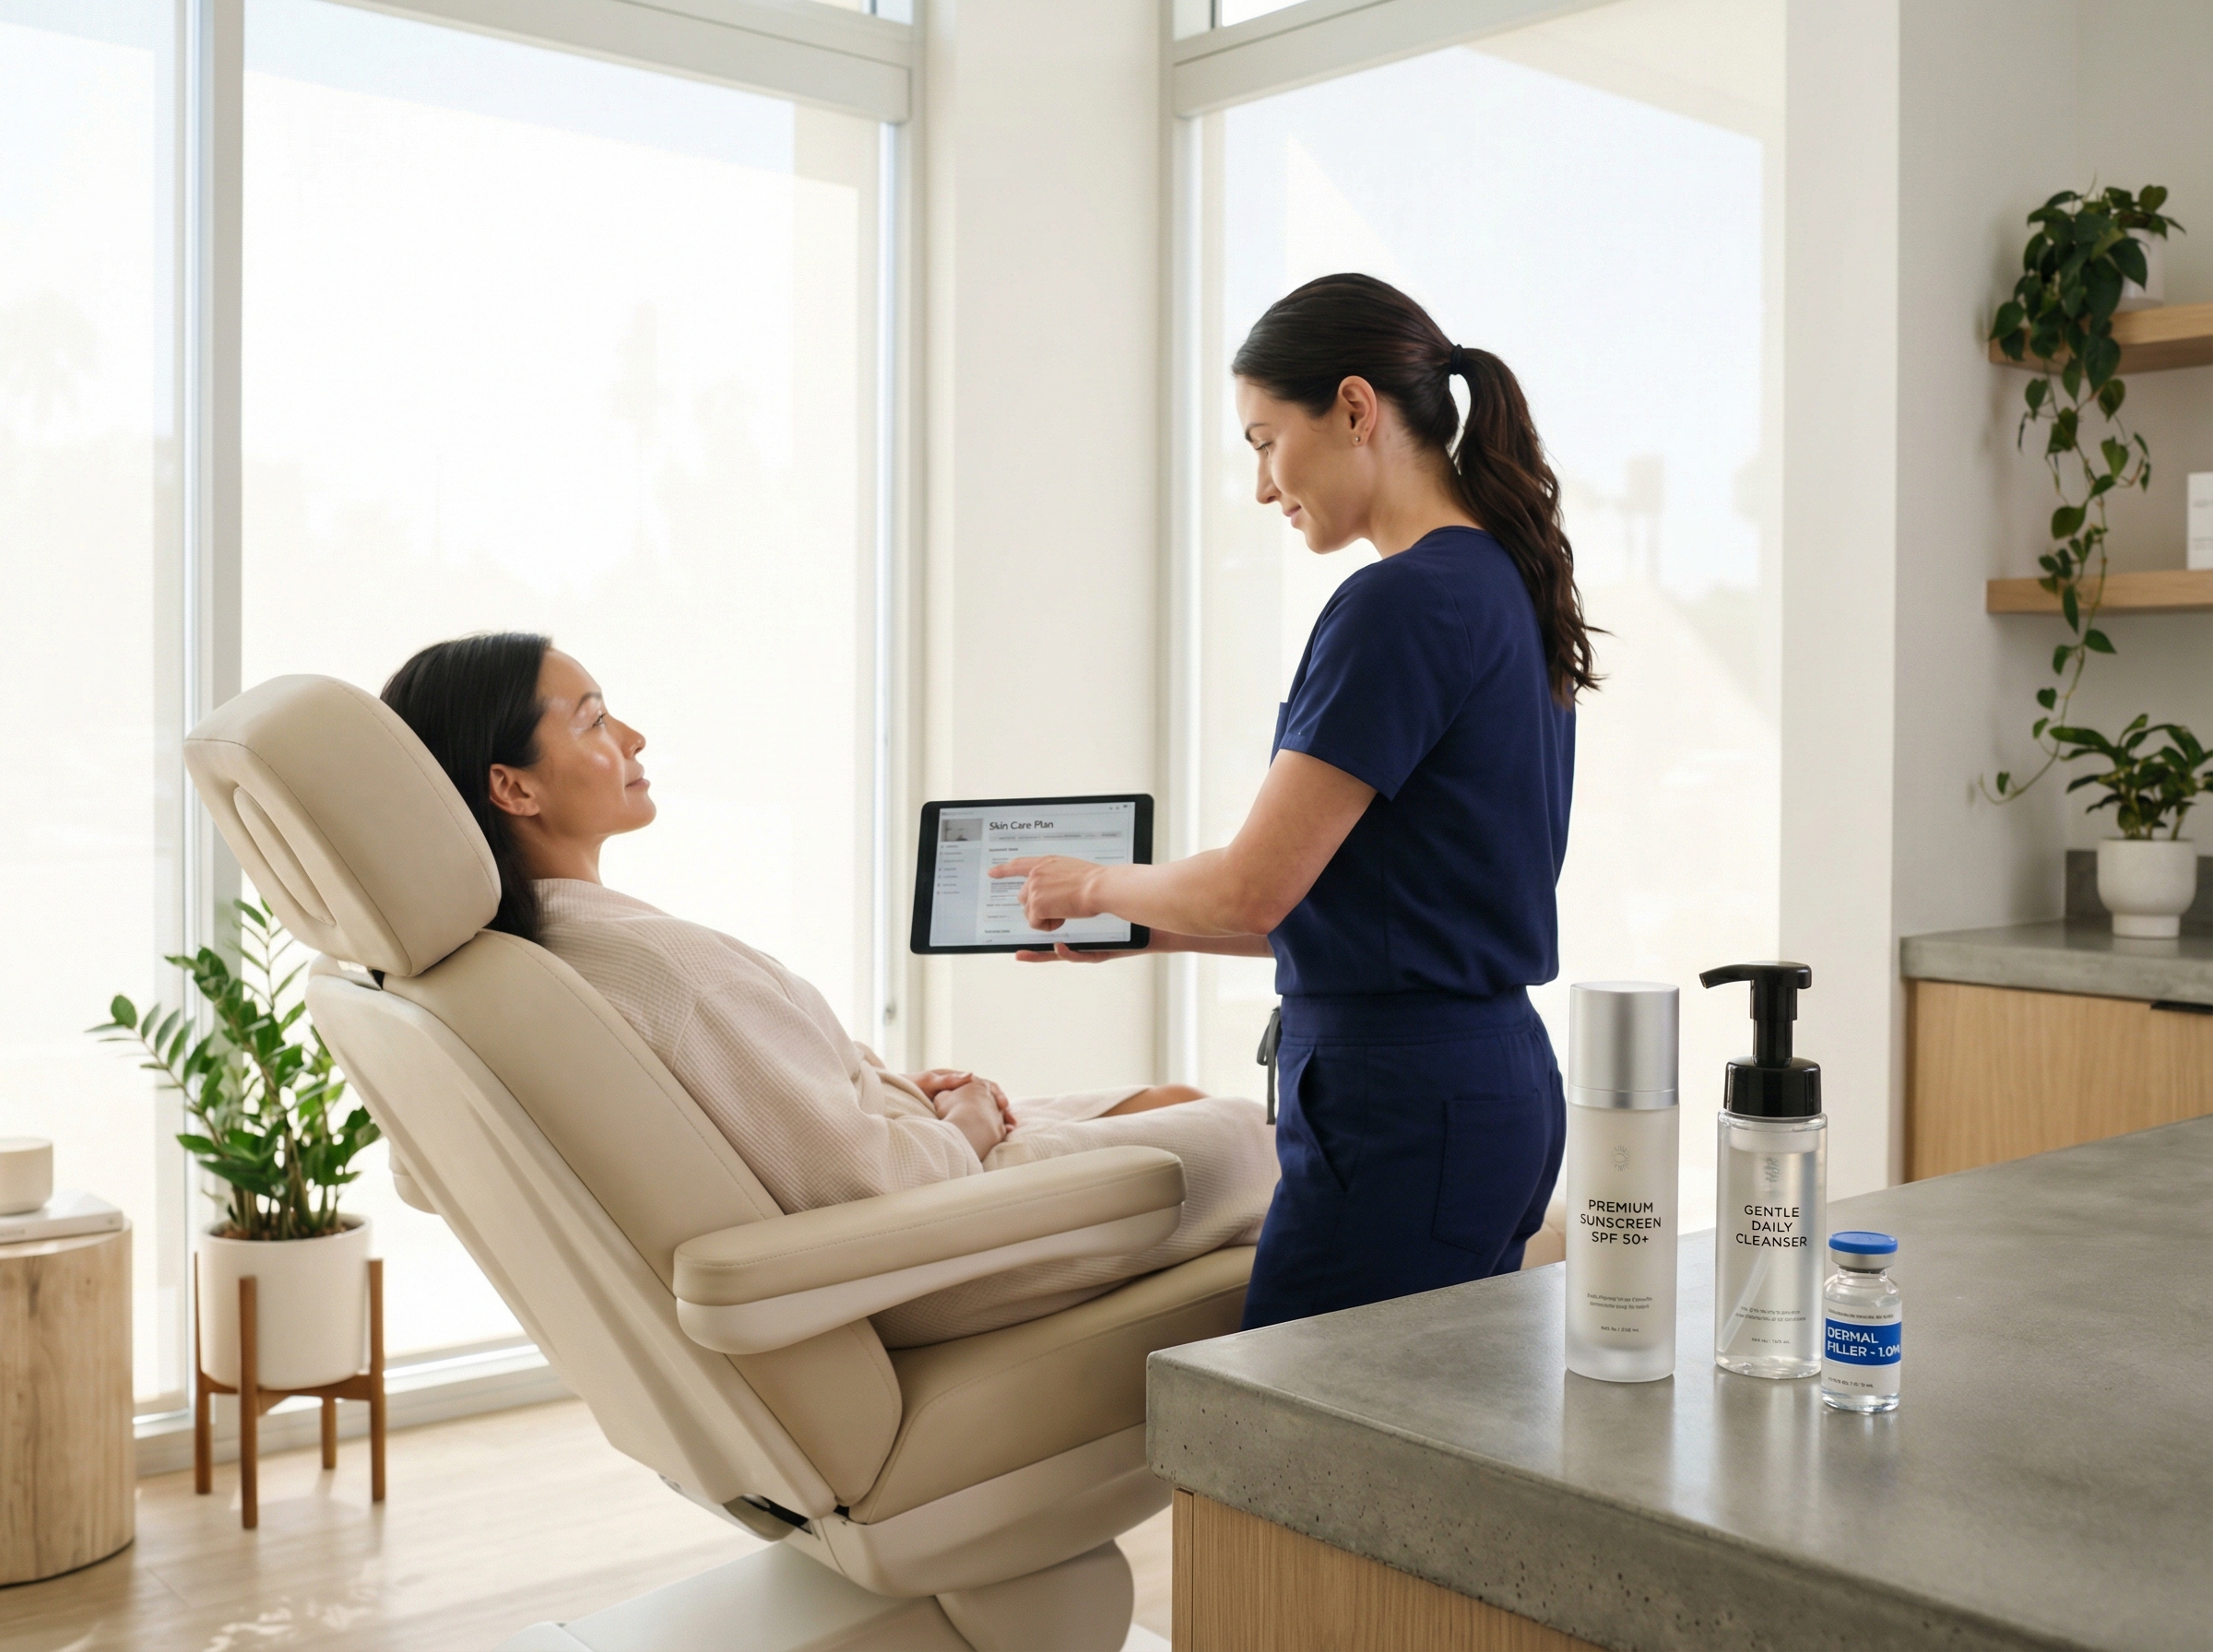
Practical aftercare and recovery timelines for common non invasive procedures
Knowing what to expect after you leave the clinic is half the battle. Most anxiety comes from not knowing if that bump, bruise, or flake is part of the plan or a sign of trouble. Recovery isn’t always pretty, but it follows a predictable path when things are going right. Here is the breakdown of timelines and care strategies for the most common procedures.
Botox and Neuromodulators
The recovery for neurotoxins is minimal, but the first few hours are critical for ensuring the product stays exactly where it was injected. You won’t see the wrinkle-relaxing results immediately.
Immediate Care (First 4 hours)
Gravity and pressure are your enemies right now. The toxin is a liquid suspension that needs time to bind to the nerve receptors.
- Stay upright: Do not lie flat for at least 4 hours. No naps and no dental appointments.
- Hands off: Do not rub or massage the treated area. If you wash your face, use gentle, upward strokes.
- Skip the gym: Avoid strenuous exercise that increases heart rate or causes facial flushing.
- Avoid headwear: tight hats or headbands that press on the forehead should be avoided.
Recovery Timeline
Day 1-2: You might see small red bumps at the injection sites that look like mosquito bites. These usually resolve within 30 minutes to a few hours. Mild bruising is possible but less common than with fillers. You may feel a heavy sensation or a mild headache.
Day 3-5: Movement starts to restrict. One side might freeze faster than the other. This is normal.
Day 14: This is the finish line. The full cosmetic effect is visible. If you still have movement or asymmetry at the two-week mark, this is the time to call your provider for a touch-up.
Dermal Fillers
Filler recovery is physically more obvious than Botox. You are introducing a gel substance under the skin, so volume changes and trauma from the needle cause immediate reactions.
Managing Swelling and Bruising
Swelling is guaranteed. Bruising is likely. Don’t plan social events for at least 3 to 7 days post-procedure.
- First 48 Hours (The Cold Phase): Apply ice packs for 10 minutes on, 10 minutes off. This constricts blood vessels to limit bruising and reduces swelling. Sleep elevated on two pillows to help fluid drain away from the face.
- After 48-72 Hours (The Warm Phase): If a bruise has formed, switch to warm compresses. The heat encourages blood flow to clear away the trapped blood cells that cause discoloration.
- Pain Management: Use Acetaminophen (Tylenol) if sore. Avoid NSAIDs like Ibuprofen, Aspirin, or Naproxen as they thin the blood and worsen bruising.
- Supplements: Arnica Montana pellets or topical gel can help speed up bruise resolution. Bromelain supplements (derived from pineapple stems) may also reduce inflammation, and Vitamin K cream can help the body break down the blood causing discoloration.
The “Settling” Timeline
Week 1: You will feel lumps and bumps. The filler feels firm and foreign. This is often called the “ugly duckling” phase where swelling may be asymmetrical. Do not massage unless specifically instructed by your injector.
Week 2-4: The product integrates with your tissue. The filler softens and absorbs water (if it is hyaluronic acid). The final result is only visible after 4 weeks.
Urgent Warning: While mild tenderness is normal, severe pain, blanching (skin turning white or dusky), or a net-like pattern of discoloration (livedo reticularis) are signs of vascular occlusion. This is a medical emergency. Contact your injector immediately to dissolve the filler.
Laser Facials and Light Treatments
Whether it is IPL, BBL, or non-ablative fractional lasers, these treatments use heat to trigger a healing response. The skin barrier is temporarily compromised.
Daily Care Steps
Day 1-3: You will look sunburned. The skin will feel hot and tight. Mild swelling is common, especially around the eyes.
- Use cool water to cleanse. Avoid hot showers that create steam.
- Apply simple, bland moisturizers. Skip all serums with active ingredients.
- Sleep on a clean pillowcase to prevent bacterial transfer.
Day 4-7: Depending on the laser strength, you may see “coffee grounds” on your skin. These are microscopic columns of treated tissue (MENDS) pushing to the surface. The skin will feel like sandpaper.
- Do not scrub: Let the roughness slough off naturally while cleansing.
- Sun avoidance: This is non-negotiable. Your skin has no defense right now. UV exposure will cause hyperpigmentation.
Managing Post-Laser Purging
Heat can stimulate oil glands, leading to a temporary purge. If you see small whiteheads, do not pop them. You can spot treat with a very mild salicylic acid if your provider approves, but usually, it is safer to just keep the area clean and moisturized. For more on distinguishing this from a breakout, Skin Purging vs. Breakout – How to Tell the Difference | Paula’s Choice offers good visual cues.
Chemical Peels
Recovery depends entirely on the depth of the peel. The goal is controlled damage to reveal fresh skin, so peeling is the point, not a side effect.
Superficial Peels (The “Lunchtime” Peel)
Expect dryness and mild flaking around the nose and mouth from day 3 to day 5. You might not see visible sheets of skin peeling off. Keep the skin hydrated with a basic moisturizer. You can usually resume retinoids after 5-7 days once the skin feels normal.
Medium-Depth Peels (TCA, Jessner’s)
Days 1-2: Skin looks tight, shiny, and may turn a bronze or brown color.
Days 3-7: The peeling begins, usually starting at the center of the face and moving outward. It can hang in sheets.
- The Golden Rule: Never pull, pick, or cut the dead skin. Pulling it off before it’s ready can cause bleeding and permanent scarring.
- Occlusives: Use thick ointments like Aquaphor or CeraVe Healing Ointment on cracking areas to maintain a moist wound healing environment.
- Sun Protection: SPF 30+ is mandatory. Physical blockers (zinc oxide/titanium dioxide) are less irritating than chemical sunscreens during this phase.
Non-Surgical Body Sculpting
Treatments like Cryolipolysis (fat freezing) or Radiofrequency/Ultrasound often have delayed recovery symptoms that surprise patients.
Sensory Changes and Swelling
Numbness: It is very common to have numbness or tingling in the treated area for weeks. Nerves are temporarily stunned by the extreme cold or heat.
Swelling and Tenderness: The area will feel bloated and sore, similar to the feeling after an intense workout. This peaks around day 3-5 but can persist for weeks.
Aftercare Protocols
- Compression: Wearing a compression garment (like Spanx) helps manage swelling and provides comfort for the tender skin.
- Massage: If you had fat freezing, massaging the area for a few minutes daily can help break down the crystallized fat cells and improve results, though it may be uncomfortable.
- Hydration: Drink plenty of water to help the lymphatic system flush out the destroyed fat cells.
Watch for: Paradoxical Adipose Hyperplasia (PAH) is a rare reaction where the fat area hardens and grows larger instead of shrinking. This usually appears 2-5 months later. If you notice a firm, painless mass in the shape of the applicator, contact your provider.
Universal Aftercare Rules
Regardless of the specific treatment, these cross-cutting guidelines apply to almost every non-invasive procedure to ensure safety and efficacy.
1. The Heat Rule
Avoid saunas, hot tubs, steam rooms, and hot yoga for 48 to 72 hours. Heat causes vasodilation (widening of blood vessels), which increases swelling, redness, and the risk of bruising. For laser treatments, this window extends until the skin is no longer sensitive.
2. The Workout Window
Skip the gym for 24 to 48 hours. Elevated blood pressure can displace Botox or turn a minor bruise into a hematoma. Sweat also carries bacteria that can irritate freshly treated skin or open pores.
3. Reintroducing Actives
You need to pause your “heavy lifters” like Retin-A, glycolic acid, and Vitamin C.
- Botox/Fillers: Can usually resume the next day, provided you don’t rub hard.
- Lasers/Peels: Wait until full epithelialization occurs. This means the skin is no longer pink, peeling, or sensitive. This is typically 5-7 days for light treatments and 10-14 days for deeper ones.
4. Makeup Application
Wait at least 24 hours after injections like Botox or filler to allow the puncture sites to close. For chemical peels, wait until the skin is no longer sensitive (usually 24 to 48 hours) and use mineral makeup to avoid clogging pores. For ablative lasers, wait until the skin has fully scabbed or re-epithelialized (5-7 days). Applying makeup too early introduces bacteria to open channels in the skin.
5. Treatment Stacking
Stacking treatments requires expert planning. Some combinations work well, such as a HydraFacial followed by LED light therapy. Others are dangerous. You should never do a chemical peel immediately after laser resurfacing. This strips the skin barrier too aggressively and causes burns. Always disclose recent treatments to your provider.
The 72-Hour Safety Checklist
The first three days are critical for catching complications early. Follow this short checklist to monitor your recovery.
Hours 0 to 24
Focus on reducing inflammation. Apply ice packs wrapped in cloth if your provider advised it. Keep your head elevated when sleeping to reduce fluid retention. Do not apply makeup. Avoid strenuous exercise that increases heart rate and blood flow to the face. If you received filler, check capillary refill by pressing gently on the area. The color should return instantly. If the area stays white or turns dusky purple, call your injector immediately.
Hours 24 to 48
You can usually resume gentle cleansing. Pat the skin dry instead of rubbing. Assess your pain levels. Discomfort should decrease, not increase. If you had a peel, tightness is normal. If you had filler, swelling might peak now but should feel soft, not hard and hot.
Hours 48 to 72
This is the decision window. Redness from lasers should start fading to pink. Purging might begin for peel patients. Skin purging is a visual representation of accelerated turnover. If you see pustules accompanied by heat or throbbing, this is not purging. It could be an infection. Contact your provider if symptoms are escalating rather than improving.
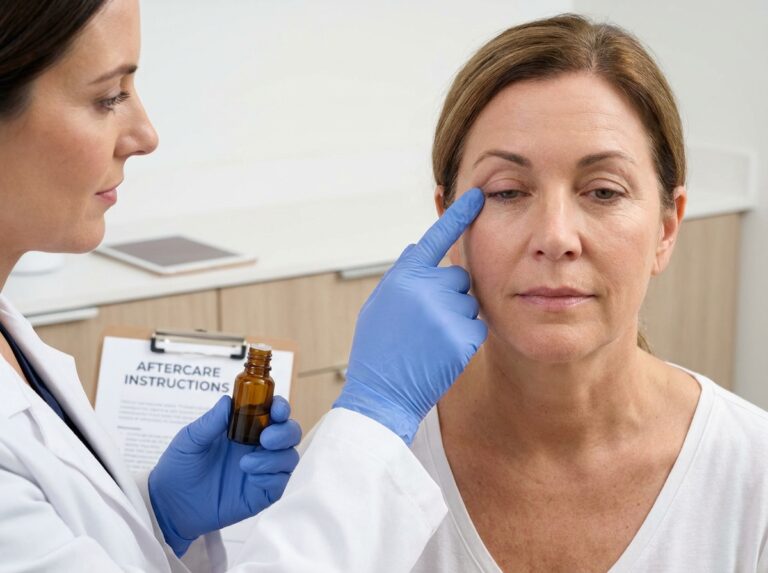
Documentation and Specialist Care
Memory is unreliable. You might think your swelling is worse today than yesterday, but photos tell the truth. Take a photo every morning in the same location with the same lighting. Do not use filters. This log is invaluable for your provider if a complication arises. It helps them differentiate between normal healing progression and a developing issue.
If you suspect a complication, contact the original treating clinician first. They know exactly what product was used and the injection depth. However, if you feel dismissed or if your symptoms are severe (intense pain, vision changes, difficulty breathing), seek a second opinion from a board-certified dermatologist or go to the nearest emergency department. Your safety is more important than politeness. Trust your instincts. If something feels wrong, get it checked.
Sources
- Skin Purging: Does Acne Get Worse Before it Gets Better? — Purging is a breakout-like reaction localized to common acne areas and should resolve within weeks. Can purging happen with all exfoliating products? It's most …
- Purge, Breakout, Or Allergic Reaction? – Into The Gloss — Hydrocortisone won't treat a whitehead, salicylic acid won't improve an allergic reaction, and rarely is “just pushing through it” the solution to either.
- Skin purging: Pictures, causes, and treatments – Medical News Today — Skin purging is a reaction to active ingredients in products that increase skin cell turnover, such as retinoids, acids, and vitamin C.
- Mistaken Identity: How to Differentiate Between Skin Purging, Acne … — Unlike pimples from purging, pimples from acne and allergic breakouts can take up to 10 days to disappear. Allergic reactions are usually red, itchy, and can …
- Skin Purging vs. Breaking Out Explained | The INKEY List — Skin purging is a reaction to ingredients that cause increased cell regeneration where impurities and clogged pores are drawn up to the skin's surface.
- Skin Purging vs. Breakout – How to Tell the Difference | Paula's Choice — Skin purging is a visual representation of the way in which these ingredients interact with the cell turnover process, nothing more or less!
- Skin Purging vs Breakouts: What's the Difference? – NewBeauty — Arising in the form of small zits, “skin purging is a common but temporary reaction that can occur when you start using certain skin-care …
- The Difference Between Skin Purging and Breaking Out — Two dermatologists explain the difference between skin purging and breaking out — and how to know if that pimple is a result of acne or a skincare product.
Legal Disclaimers & Brand Notices
The information provided in this article is for informational and educational purposes only and does not constitute professional medical advice, diagnosis, or treatment. Always seek the advice of a qualified physician or other licensed healthcare provider with any questions you may have regarding a medical condition or before undergoing any aesthetic procedure. Never disregard professional medical advice or delay in seeking it because of something you have read in this article.
All product names, logos, and brands mentioned in this content are the property of their respective owners. Use of these names, logos, and brands does not imply endorsement, affiliation, or certification. This includes, but is not limited to, the following trademarks:
- Botox is a registered trademark of Allergan, Inc.
- HydraFacial is a registered trademark of Edge Systems LLC.
- CoolSculpting is a registered trademark of ZELTIQ Aesthetics, Inc.